Oceanhorn 2 Full Walkthrough Part 5 - All Power Spheres, Prita Beacon Underground, Firebird Boss Solutions
_jpg_820.jpg)
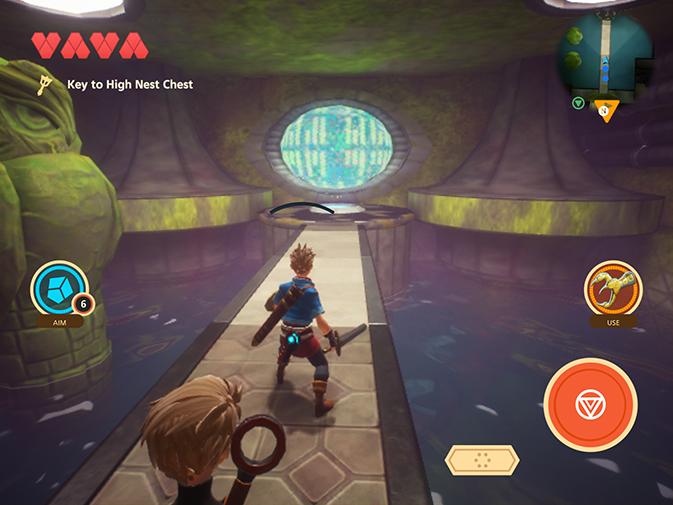
Everything you need to get through the tricky Prita Beacon Underground in Oceahorn 2: Knights of the Lost Realm
Yes, it's another installment of our ever-growing Oceanhorn 2: Knights of the Lost Realm guide, and yes, I'm starting to think I'm in too deep. But nonetheless, we're cracking right ahead and going into what is the biggest dungeon yet, and the most challenging boss.
In this guide, we're going through Prita Beacon Underground - the whole thing. That includes collecting all of the power spheres, opening up all of the chests in the dungeon, and finally toppling the incredibly threatening boss monster lurking at the finale, Chora Tuyk.
We've got a lot to get through here, so we'll just let you get on and read through our solutions - and if you need them, make sure to look at our previous and future Oceanhorn 2: Knights of the Lost Realm walkthrough guides!

- Part 1 - Pirate Hideout, Galactoss, Arne Beacon, and more
- Part 2 - Saving Trin, Arne Invasion, Hoverbike, and Sernoa Station
- Part 3 - Sernoa Station, White City, L'Istrait, Deep Jungle, and more
- Part 4 - Owru Chief, Deep Jungle treasure, Owru Shrine, Beacon Hill Dungeon
- Part 6 - Submeria, The Great Lagoon, Thunderstones, and more
- Part 7 - Thunderstones, getting the Diving Helmet, entering Ootheca, and more
- Part 8 - Ootheca Dungeon, Demon Turtle Yurmala Boss, Invasion of Great Lagoon and more
- Part 9 - Source, Well House, High Philosopher's House, Escaping Prison, Prototype Spiderbot
- Part 10 FINAL - Riskbourne Citadel, Saving Trin, Reclaiming Gear, Beating Mesmeroth, Final Boss
Getting through Prita Beacon Underground - first sphere

- We'll need power spheres to get through - let's begin by picking up the key in the chest you'll see on the minimap, and then burning through the door to the left of the room with the fire shot
- Move through, and then bomb the brick wall in the right door
- Now you can cross over the spikes and pick up the sphere
- The spikes will begin to move, just time it right so you can cross, and then return the sphere to the main room and place it upon the pedestal
Second sphere

- Move into the main room directly ahead of the main entrance from the sphere pedestal room, and use the key you found in the chest on the wall
- Move into the next room, use the grappling hook to cross the water, and then use an ice shot on the blowfish to freeze him and make a platform to cross into the next room - you can see there's a lever on the other platform, and you can make Trin hit it
- Once she hits it the water level lowers to reveal another power sphere - you can climb down, beat the enemies and grab it, and to get it back up you can simply throw it back up to where you started, and follow with your grapple hook - go put it back on the pedestal
Third sphere
- Right, now in the room following the water room there's a three switch puzzle, but it's a bit different - go and stand yourself at the top of the stairs on the lightning symbol
- Have one of your companions stand on the left switch, and another the middle - now shoot the orb to your far left, and connect it with the one to it's right hanging from the ceiling, and the one to the left of that
- Now, without letting go of your aim, make your companion on the left-most switch move to the right-most switch instead
- Now another node should be uncovered on the right, link to that, then the right-most orb to finish the puzzle - this will raise a staircase allowing you to get through the rapidly opening and closing door on the left side of the room
- Follow the narrow path until you come to a circular platform, and then run around to find another path forward
- If you follow the path directly to the end you'll find a room with several enemies and a chest, or your true destination in a path to your left
- First, move over to the other side of the stage using the moving platform, and move into the caged area
- Here you'll see a platform with something on it in the distance, jump over it or swim and climb the ladder
- There's a switch behind the bars - have Trin hit it
- This will open up the path to the power sphere, and you can simply carry it out and over the moving platform - there is a laser that will shoot and burn you, but you won't drop the sphere, so you can just tank the hits and take the sphere back to the pedestal main room
Climbing to the emblem shrine

- Oh, remember to go into that first room from the pedestal room and open the green chest if you got the key from the other chest earlier
- Once it's all done and the power spheres are in place you can head into the teleporter in the other room leading from the pedestal room
- Once through, just stand on the blue switch and head to the main area
- Once in the main area chat to Irontalon, buy any items you might need, and then leap into the new area revealed by the moving cocoon
- Once down here you'll be in a brand new room, just use the one exit and go outside
- You'll find yourself high atop the beacon - use the pipe-looking ladders to climb right to the top - but make sure to cut down bushes and pipes to restock your supplies first, we're going into a boss…
Chora Tuyk - Firebird

- First, now this beast is easily the most challenging enemy we've come across yet, so stock up on resources as much as you feel is necessary - this is going to get hairy
- The Chora Tuyk Firebird can't be damaged just by shooting at it, you have to get close, and that is easier said than done
- The two attacks you'll primarily need to watch for early on is the fire blast, a devastating stream of fire which will burn you up - you need to move to avoid it or hide behind something
- The next attack is a powerful gust which can push you off the stage, and even send tornadoes coming your way to throw you around the stage
- There are three towering pylons around the battle arena, and you'll need to use these to your advantage
- All of the towers have several flammable cacti on it which you can burn to uncover a grapple point so you can mount the tower
- Climb the ladders to the top, and which the Chora Tuyk is doing its gust attack you can grapple onto it's back
- While your there, be careful not to fall off, as falling off the battle arena entirely can reset the battle
- On the creature's back are several boils and spots, you just need to slash them with your sword to do damage
- Repeat the process two or three times, and you should have taken down Chora Tuyk - congratulations!
- Once the battle is over you'll find yourself back in L'Istrait tasked with returning to White City - phew!
