Xmas on a budget: How to make an iPhone case from a hardback book
Last minute DIY Chrissy pressie
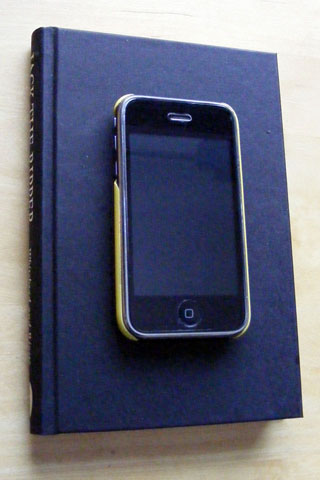
The snows of winter have covered this land at a most inopportune moment. It’s the last day for Christmas post, and a lot of deliveries are likely to be held up until after the holiday.
“Calamity!” shout those with presents caught in transit. But never fear, as Pocket Gamer has a great idea for a DIY Christmas present perfect of the avid iPhone and iPod touch user.
Did you know that next to games, books is the most popular category on the App Store. Some months there are more e-book applications published for iPhone and iPod touch than games and apps, making Apple’s devices a great gift for anyone who likes to read.
To capitalise on this e-book popularity, we’re going to show you how to make an iPhone/iPod touch case from an old hardback book, perfect for the literary user who’s struggling to make the transition from print to LCD.
All you need is a book, a knife, a bit of glue, an iPhone and a complete disregard for the printed word.
 |
|
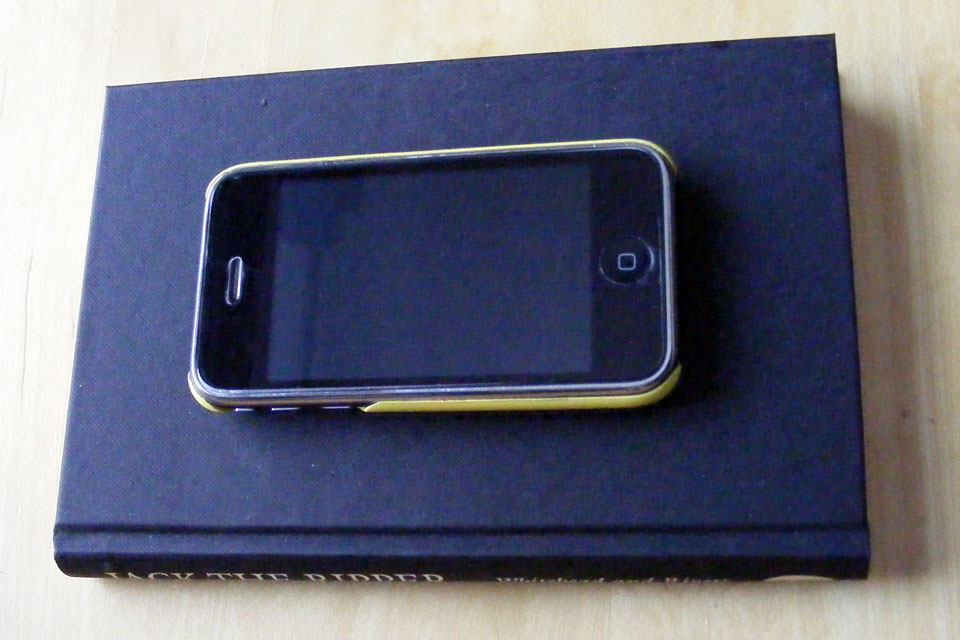
| I picked up this book for two quid from one of those cheap, end of line bookshops in town. If you’ve got something kicking around the house, all well and good. The only thing to be aware of is that it’s deep enough to accept an iPhone or iPod touch between its covers, and gives you at least half an inch clearance all the way around. |
 |
 |
|
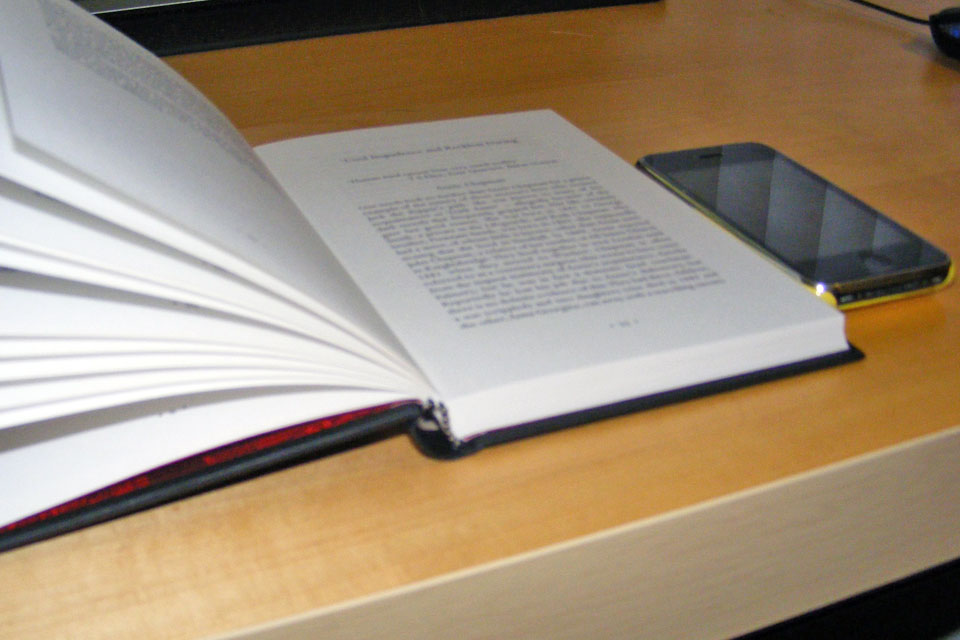
| Measure the iPhone from the inside of the back cover, and open the book at the same level as the screen. This will give you a ‘block’ of pages the same depth as the device. It’s these we’re going to cut a hole in (you’ll likely have a few extra pages at the front, but we’ll need those soon). |
 |
 |
|
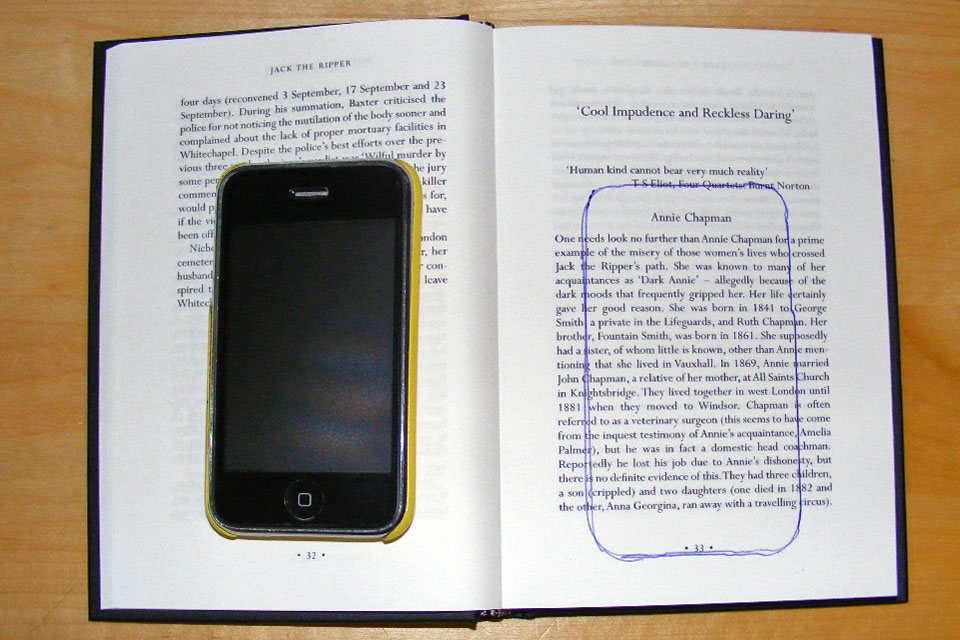
| Place your iPhone on the top of this block of pages and draw around it. To make the cutting easier, I put some tape around the outer edge of this block of pages, to hold them tightly together (and to stop them splaying as the book open). Don’t worry about those pages tearing later when we come to remove the tape - it’s easy to remove one or two scruffy leaves at the end. |
 |
 |
|
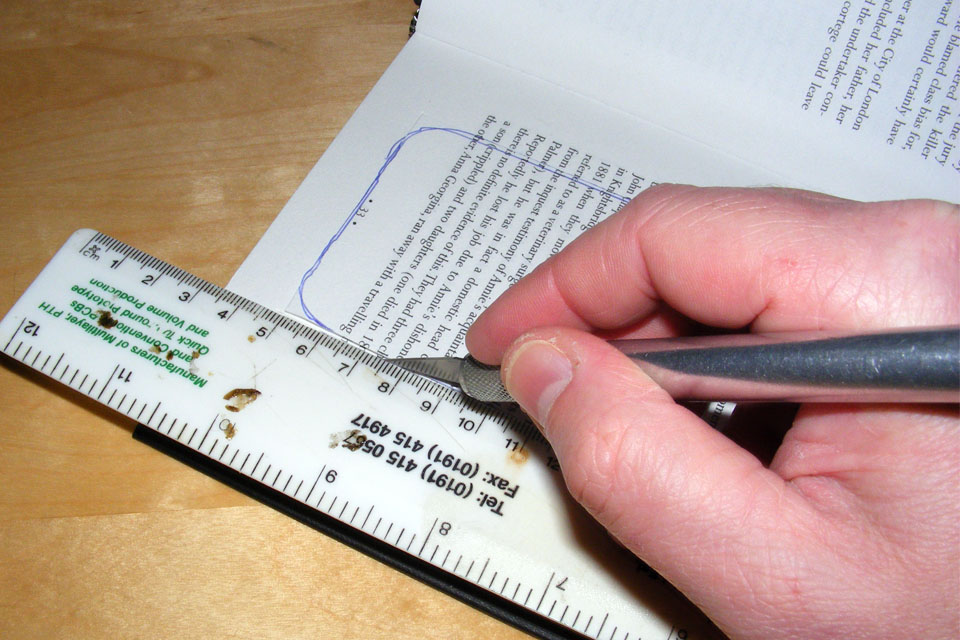
| There’s really no secret to cutting out the block of pages. Get yourself a good, sharp scalpel or craft knife, a hard ruler, and start slicing. The pages, that is. Lose a finger or significant piece of flesh and it’s not our fault, okay? Make sure you go over each side in turn, making a few cuts and removing the cut-outs as they come loose. You might need to go back over the corners to get the pages free. Make sure you use the knife rather than tearing the pages out when they’re not quite cut in the corners, and your cut-out will be neater in the end. |
 |
 |
|
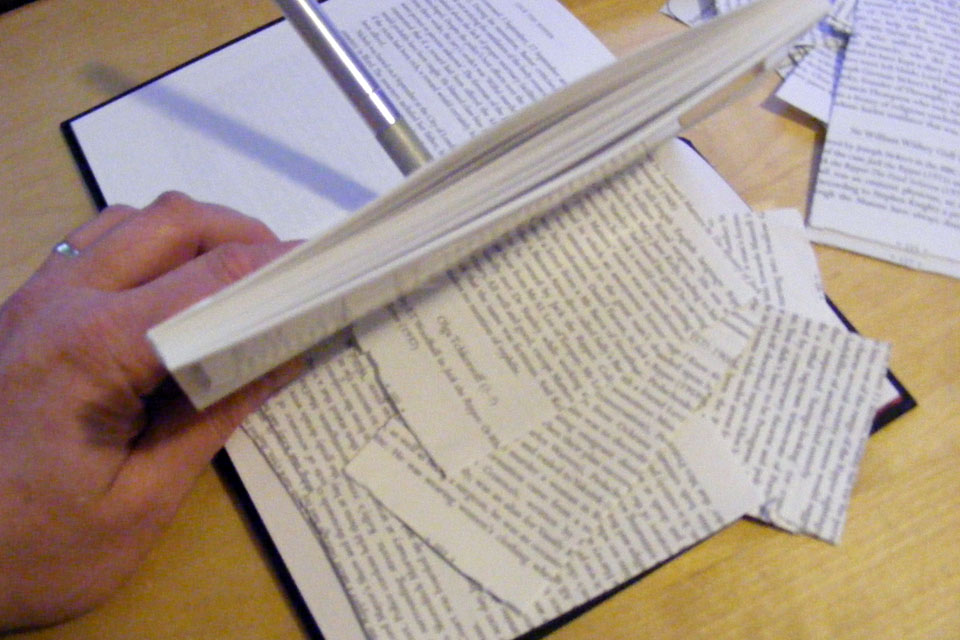
| As you get toward the back of the book, put a handful of the cut-out pages on top of the inside of the back cover, to protect it from the knife blade as you get toward the last few pages. |
 |
 |
|
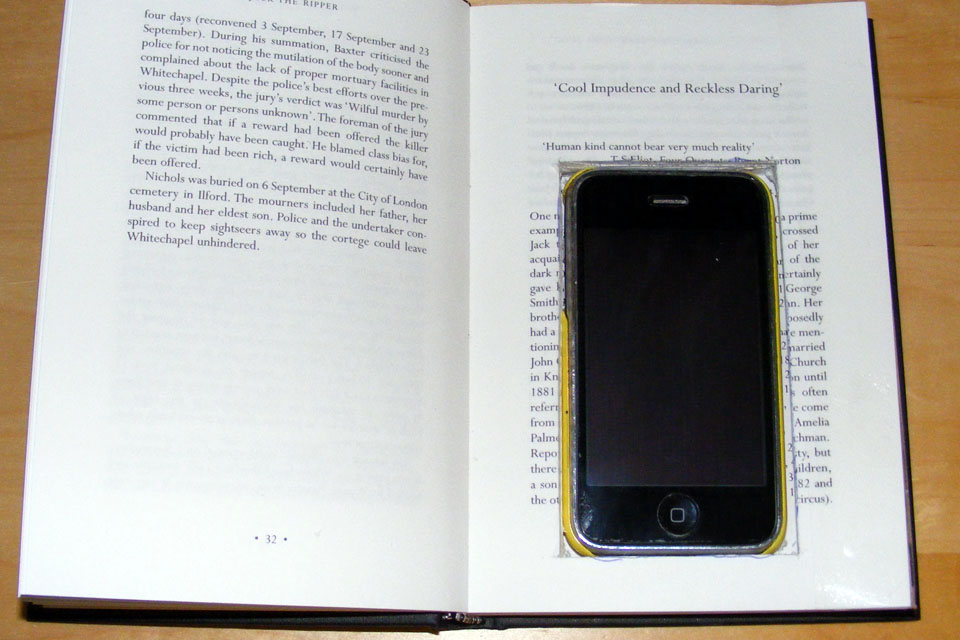
| Check that your iPhone sits in the cut-out, flush with the top of the block of pages. Borrow a few pages from the front of the book if the iPhone is a bit proud, but try to make sure you don’t go too deep so it rattles around when the book is closed. |
 |
 |
|
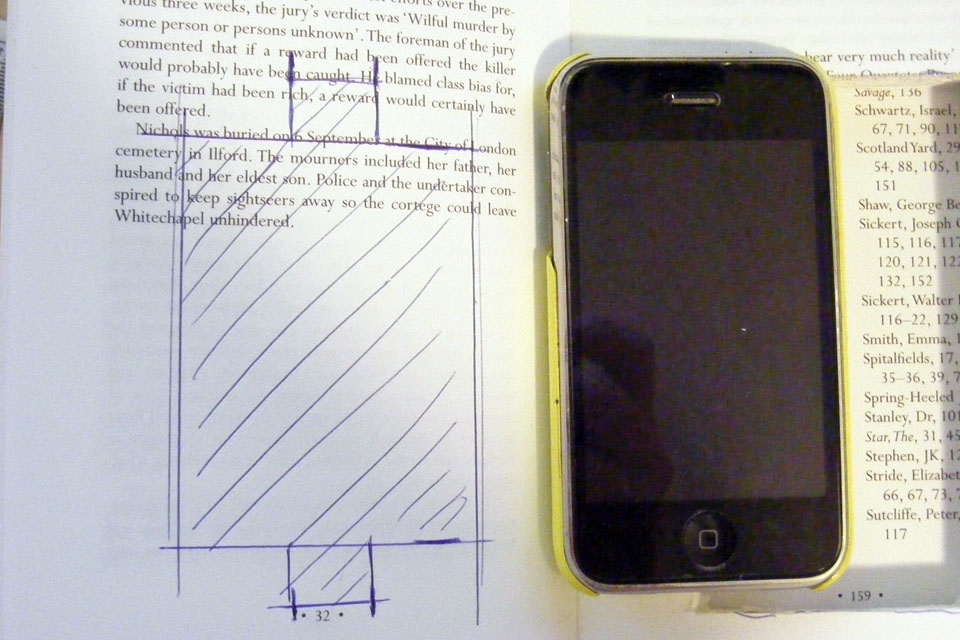
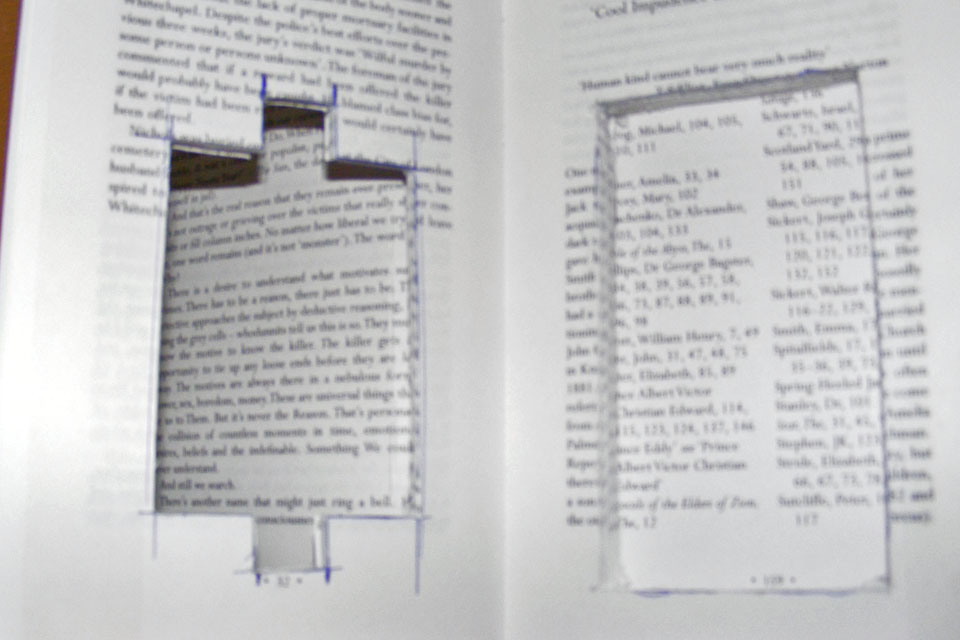
| If you’ve had enough, you can finish here. It’s not a small job cutting out those pages. But if you want to hold your iPhone inside the case while reading on it, keep going: We’re going to add a kind of bezel to the cut out, so the iPhone won’t drop out when the book is open. Turn the book over, and open the back cover so you’re looking down through the cut-out at the remaining pages at the front of the book. Draw a light outline of the cut-out on the page at the bottom of the cut-out. Go back to the front of the book, and using your iPhone as a guide, draw where the screen, home button and speaker grill are within the outline you just drew (obviously you won’t need the speaker grille if it’s for an iPod touch.) |
 |
 |
|
| Take your remaining full pages at the front of the book, tape them together (as you did before cutting the big block of pages, to hold them together) and cut out the new shape that will go around the screen, button and speaker, but is smaller than the whole iPhone. Again, use some of the cut-out pages to protect the back of the front cover while cutting, and pay careful attention to the corners so the pages come away easily without tearing. |
 |
 |
|
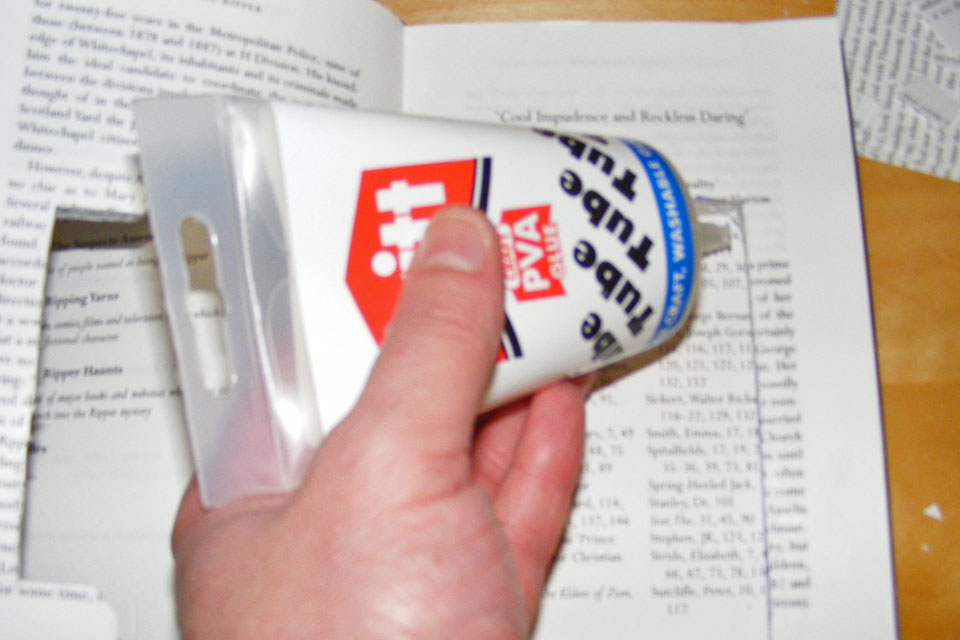
| Take some PVA glue, and paint it around the inside edges of the cut-outs. Give it time to dry (shouldn’t take too long, as the pages will soak up the glue), and once it’s dry you can remove the tape around the two blocks of pages. If the front and back pages tear when taking the tape off, just cut them away down the spine. Some of the pages might go a bit wobbly from the wet glue, so put your book under something heavy for the night and it’ll be fine (making sure the glue is dry first). |
 |
 |
|
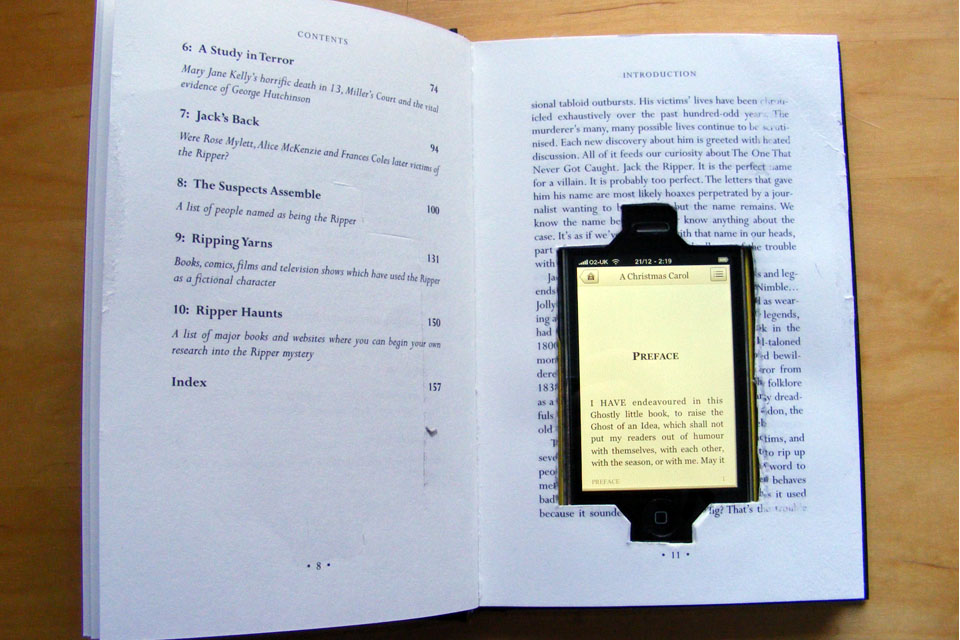
| Put the iPhone in the big cut-out, close the ‘bezel’ pages, and there you have it - an iPhone disguised as a book. I’m reading A Christmas Carol on my iPhone, and don’t feel out of place in the big leather armchair in front of the fireplace at the club, because as far as all the other toffs know, I’m reading off of paper and not a super-awesome digital display. A great DIY present for the iPhone user who likes to read. And if you're looking for more iPhone/iPod related DIY pressies, check out our duct tape case, dock and MP3 player you can use in the shower. |
 |
 |
|
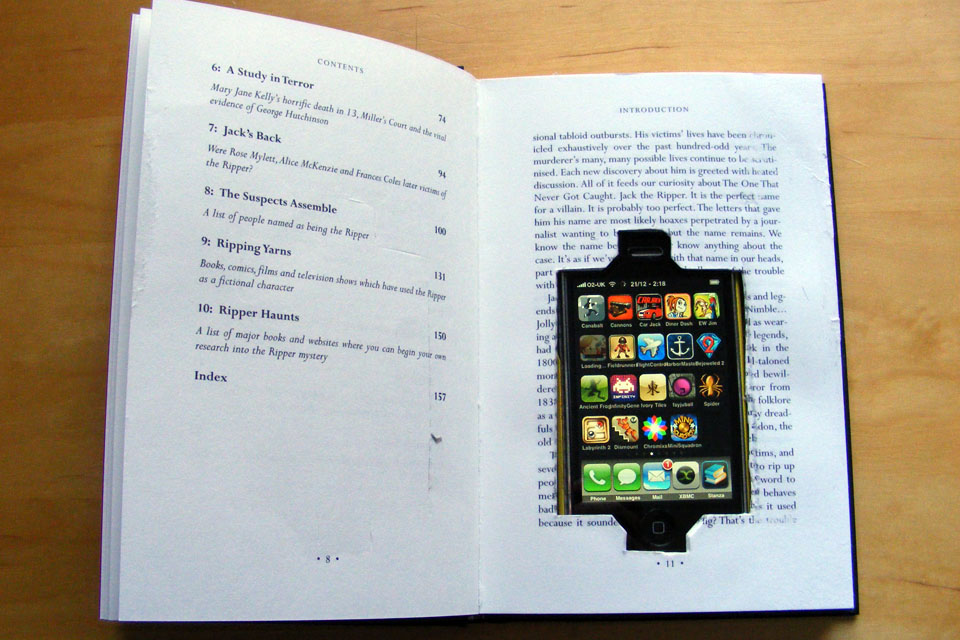
| Epilogue If you like, use a very small piece of BluTac to stick the bezel pages to the iPhone block, which will keep the device in place without you having to hold it. You might also notice that in the book I used, there’s room to make another cut-out in the main clock of pages to store headphones, or whatever else you might carry with your iPhone. I didn’t have time, but you’ve still got a few days before Christmas. |
 |
