Mankind has always been fascinated with mapping the surface of the Earth. Hundreds of years ago valiant explorers set forth to conquer distant lands (with fingers firmly crossed that they wouldn’t end up falling off the edge once they reached the horizon) and more recently we’ve seen daring expeditions sent to the farthest corners of the planet with the sole aim of expanding our knowledge of its varied and often unpredictable terrain.
The advent of satellite imagery has finally given us a truly accurate picture of the globe. It’s now possible to satisfy the explorer within you by loading up the awesome Google Earth on your trusty iPhone or iPod touch.
This handy guide will give you a brief introduction into how the application functions and should hopefully enable you to don your Christopher Columbus-style floppy hat and embark on an exciting journey of your own. All aboard!
 |
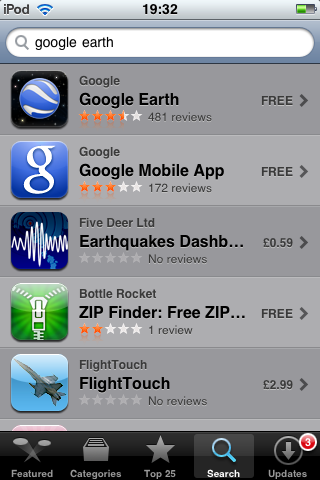
| Google Earth is one of those applications that really appeals to the miser within all of us, because it’s entirely free to download and use - simply search for it using the App Store’s search tool. Download the app and you’re all set. |
|
 |
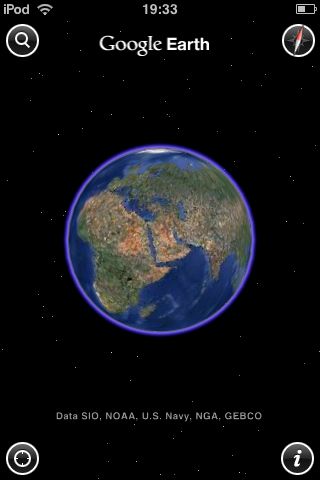
| This is the first screen you’ll see when you open up Google Earth. The program takes a little while to calibrate when you first activate it, so be patient. Banging your iPhone against the edge of the table won’t make it load any faster.
There are four icons in each corner of the screen. The top-left one is a search tool that enables you to jump to specific locations (more on that in a bit). The top-right option will point you in the direction of North (it’s possible to rotate your view using a multi-touch gesture, you see).
Bottom-left activates location based services (Google Earth will pinpoint your location and you can then search for locations close to you). Finally, the bottom-right icon takes you to the settings screen. |
 |
 |
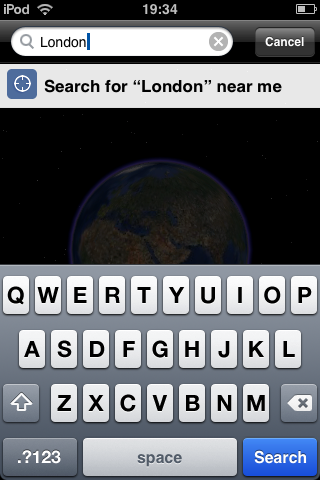
| Okay, let’s try a search. Tap the top-left icon and you’ll be presented with this screen. Type in the name of a location you’d like to visit.
If you’ve enabled location-based services you’ll see that an option to ‘search near me’ will appear – this is handy if you’re looking for a location that shares its name with other places. |
 |
 |
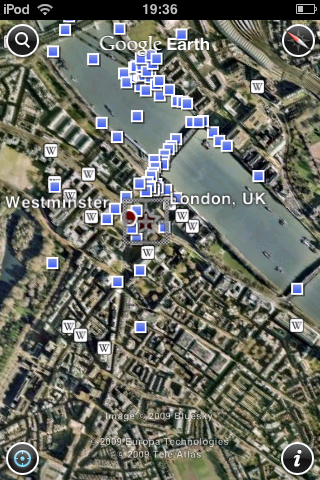
| Bingo! Google Earth smoothly zooms in on the place in question. It’s our fair capital. Close your eyes and you can practically hear the sound of building contractors hurriedly attempting to get things ready for the next Olympic Games.
In case you were thinking “I don’t recall all those blue squares being there last time I visited London”, we should probably point out that those little tiles represent photos that have been tagged onto the map by members of the public.
Clicking one results in… |
 |
 |
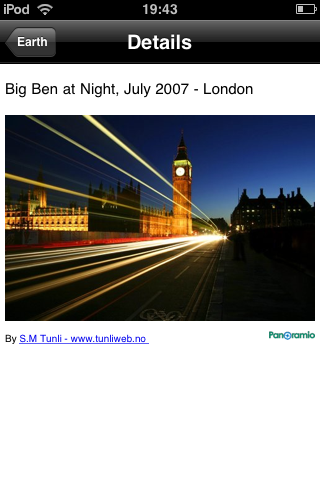
| …the photo being displayed. Here we have a nice arty night-time snap of Big Ben.
There are thousands of these photos dotted all over the globe and they give an excellent viewpoint on famous (and not so famous) locations. It’s almost like being there, just without the costly travel expenses! |
 |
 |
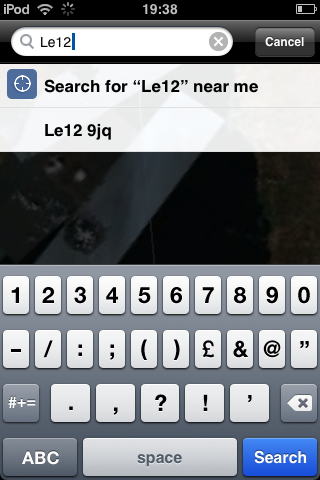
| As well as searching for individual place names, Google Earth also allows you to find locations by using UK postal codes. Let’s give it a spin. |
 |
 |
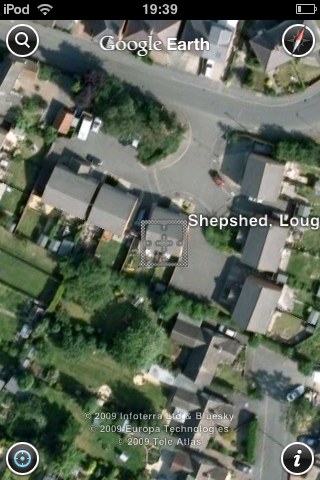
| Boom! Pinpointed within a matter of seconds. We imagine this feature could be quite handy if you’re a postman.
Or maybe not. Ahem. |
 |
 |
In addition to the photo icons, there are also Wikipedia buttons which link directly into the online encyclopaedia’s entries on that particular location. These are a goldmine of valuable information.
For example, did you know that Leicester is the 13th largest city in the UK with 441,213 unfortunate souls living within its depressing, smog-filled grasp?
You do now!
|
.png) |
 |
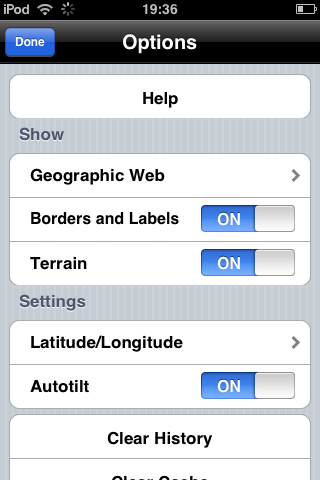
| Clicking the settings icon in the bottom-right hand corner of the display throws up this menu. Here you can tinker with various options within the application. |
 |
 |
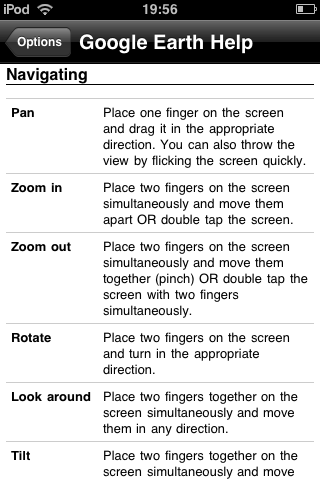
| If you want a few more tips on how the Google Earth interface operates, click the ‘help’ option from the settings menu. Here you get a fairly detailed breakdown of how to move around, pan, zoom and rotate your view. |
 |


.png)


