Helix Jump cheats and tips - Everything you need to get high scores in Helix Jump

Where we dropping?
Do you like to bounce? Do you like high scores? Do you need a game to kill five minutes on while waiting for the bus? Well do we ever have the game for you - Helix Jump, and we've got tips to get you those high scores.
In Helix Jump you'll rotate a central column in order to drop a bouncy ball down to the bottom.
Easy at first, but tough to master, there are loads of level for you to drop into and plenty of high scores to smash.
Read through our advice below, and you'll become a Helix Jump champ - guaranteed.
1
Down we go
The goal in Helix Jump is to guide your impossibly bouncy ball all the way to the bottom of the level, where you will, erm, finish the level. Game design, right?
Your aim will be to get high scores, which you can build by jumping down multiple platforms at a time, and generally not failing, which will reset your score.
There are loads of levels to get into, and each is a new opportunity to test your skill. The levels get tougher, and change up colour schemes, but these basic rules and tips will help you conquer the entire game.

2
Danger zone
Your main obstacle to getting high scores in Helix Jump will be the dark danger areas. Touching these will result in an instant fail.
Your score will reset and you'll start from the beginning of the level - especially awful, because otherwise you'd be carrying your score over from the previous level. Boo!
So yeah, avoiding these will be the aim of the game. Luckily, the ball's predictable bounce, and the column's quick rotation speed, make them not too difficult to avoid.

3
Just the tip
The danger zones get more, erm, dangerous, as the game goes on, and especially when they are right on the edge of the hole where you'll be dropping down.
To make things worse, some of them even move along the platforms, and get in the way of the hole to make it even more difficult to jump down. Yikes.
Simply take your time, have some patience, and wait it out. You might want to go for big scores and big combos by sliding down multiple platforms at once, but it could be an untimely end for your high score.

4
Wall of death
The worst danger zone, by far, is the wall of death. Unlike the other danger zones which are on the platform itself, these stand tall and prevent you from moving about the platform freely, and can also make it much more difficult to drop down to the next platform.
These are the absolute worst and can really hamper your progress, as they're tall enough to essentially make the drop down from the upper platform that much more narrow.
Luckily though, these, and all of the other danger zones, can be destroyed using our next technique.

5
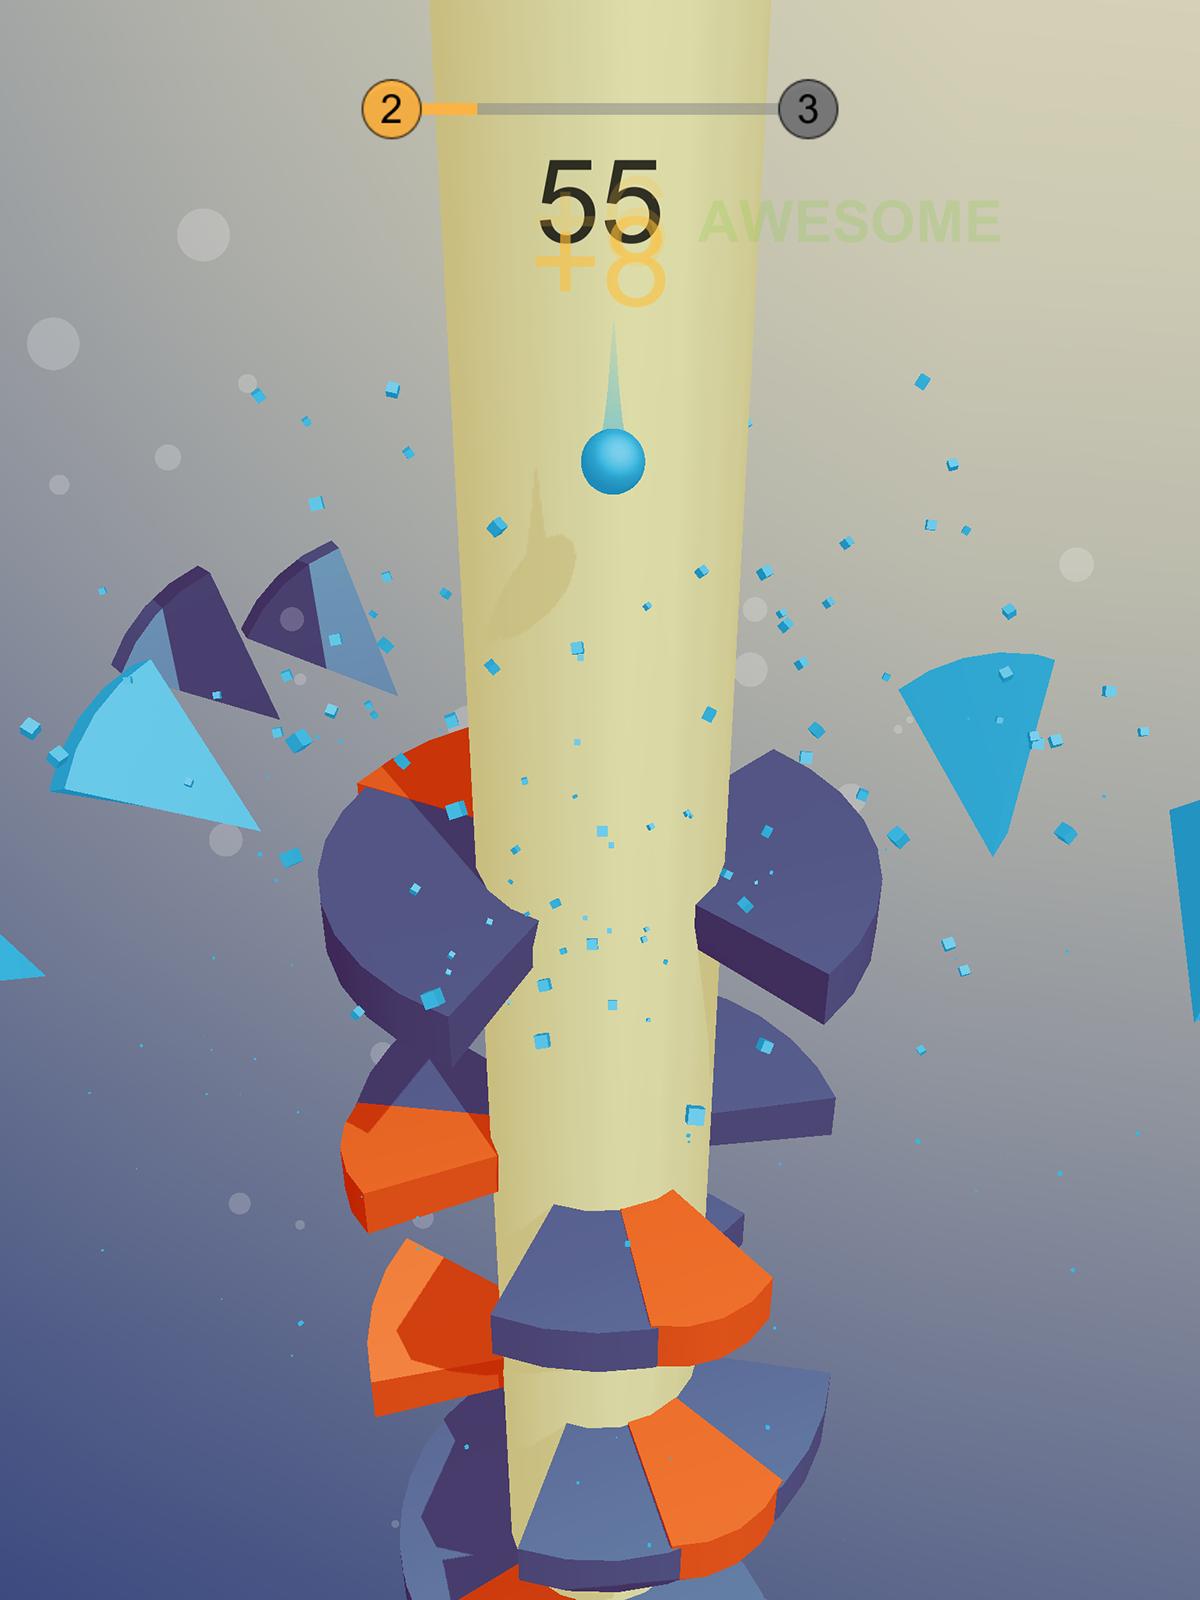
Victory is for the bold
We've already said that you'll get big points by flying down past multiple platforms at once without bouncing, but this will also smash through whatever platform you're landing on.
All you need to do is fly past at least three platforms. If you bounce on a forth, you'll actually break straight through it and continue - even if you landed on a danger zone! Nice.
You can use this to be brave and smash through multiple platforms, all while knowing that danger zones lying in the way can be demolished.

