How to solve The Room 2 - Chapter 2 walkthrough and puzzle guide for The Ship (Part 2)
Spoiler alert!
Found yourself stuck in Fireproof's sumptuous box fiddler The Room 2? Good job you found this guide, then. Here, we will walk you through every step you need to take if you want to finish the chapter at hand.
In chapter two, we are taken out to sea, with a handful of puzzles to solve in the belly of a pirate ship. We'll be cracking open a treasure chest; decorating a model ship; and playing with weights and scales.
This chapter is so long that we split the guide for it into two pages. Check out part 1 here.
Follow our movements, and you'll solve every puzzle and make your way to the next chapter. But remember to only use this guide as a last resort - it's much more satisfying to figure things out by yourself.
More The Room 2 guides
Chapter 1
Chapter 2
Chapter 3
Chapter 4
Chapters 5 and 6
 Place the red gem on the holder on the right. Then, move it left along the track so it meets the other gem to make a complete circle. This will reveal a new area with which to play. Let's take a peek...

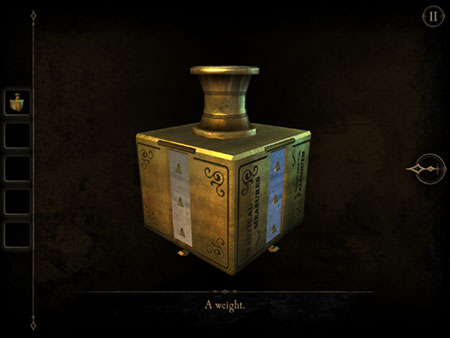
Take the weight from the table and put it on the scale on the left. You'll see a rectangle on the scale to indicate where you need to place it.

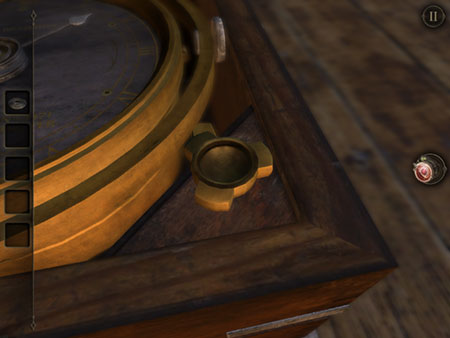
This will unlock the big box on this table. Pull apart the two lids. Take the disc from the left lid and place it in the circular indentation on the side of the box.
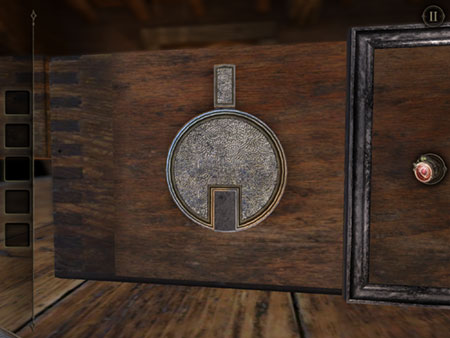
Spin it around so the gap is facing the peg. Then, pull the peg into the gap.

A weight and a second disc will appear. Place the weight on the square on the right scale to make another circular indentation appear on the box. Put your second disc in this indentation.

Spin it around so one of the gaps is facing one of the pegs, and pull the peg into the gap. Keep doing this until all gaps are filled.

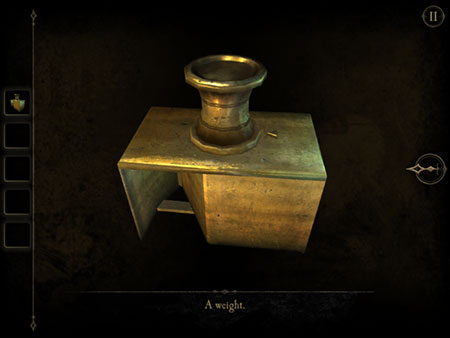
A weight will appear. Look at it in your inventory and then spin the top so the two small brass arrows are touching. The weight will transform into a triangle. Place it onto the triangle shape on the left scale. A third circular indentation will appear on the side of the box.

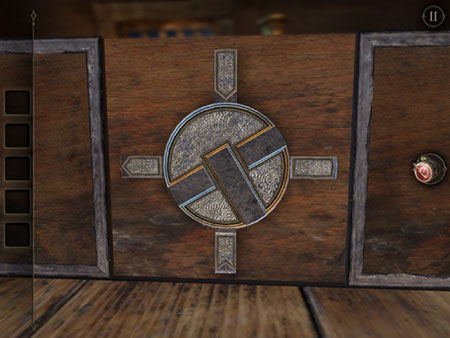
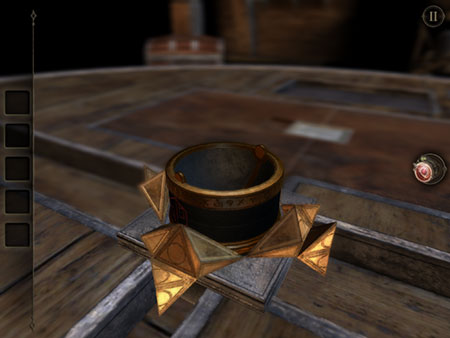
Go back to the area where you just found the weight. You'll see these four curious latches. Spin them to look like the screenshot.
You should see that the uncoloured triangles all appear to make a square. That's because...

You just unlocked a tray on the end of the left lid. Pull the tray out to reveal a disc. Take it and slot it in the third circular indentation.
Spin the disc around so the long slot is next to the peg with the triangular gap. Move the peg into the slot. Then, spin the disc around 180 degrees and drop the peg with the triangular nose into the slot - and the triangular gap. Then, move the other pegs into the other slots.
Another weight will appear. Look at it and lift up the wedges on all four sides to convert the square into a 'start' shape. Then, place it on the corresponding space on the left scale.

Go back to the area where you just took the weight. Spin the brass circle around so the two arrows on this screen meet. You'll see a disc. Put it in the fourth and final indentation.

Manipulate the pegs and disc until it looks like this. Then, drop the peg with the triangular gap into the area on the right. Spin the disc and move that peg into the space with the triangular nose so it fits nice and snugly. Then, move the two other pegs into the large gap.
Another weight will appear. Spin the top so the arrows meet and the top will fall off.

Put the weight and the top on the two final sections of the scales. This will reveal a pair of objects - a small anchor and a metal clock spring.
Right - back to the model pirate ship!

Put the anchor on the two arms on the side of the ship. A compartment will open, containing a metal star. Take it back to the table with the scales.
Twist this latch to make the centre of this clock turn over. There's another latch on the left side, so pull that open. Then, lift the entire brass doohickey open.
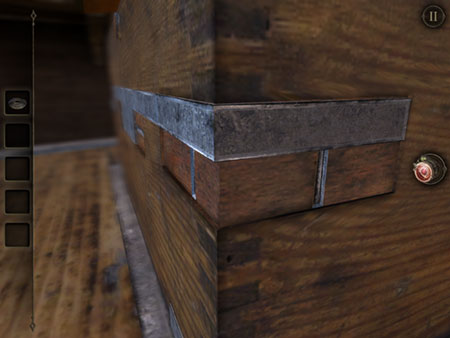
Look at the side of the box. Investigate both corners and pull them both down to open a container. Take the screwdriver from inside.

Use the screwdriver to undo the screw on this brass drum. Open it and put the clock spring inside.
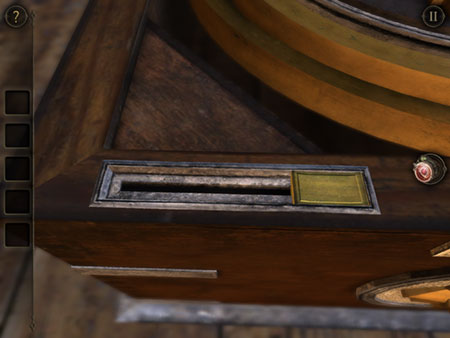
There's a switch on the front lip of the box. Flick it, and a tray will appear. Take the key from the tray and then use it on the keyhole inside the clock.

Look on the left side of the box. Use your eyepiece to see a bunch of circles. Move the latch along the track and then a moving circle will appear and turn the others like gears. They will reveal a number - "2:50".

Look at the clock face. Spin the hands until they show 2 hours 50. (The hour hand will be very close to 3 at this point. Otherwise, you're saying 1:50.)

Press a button to stop the spinning discs. The goal is to stop them spinning when the gap is lined up with the top of the box so you can slide the key out. When you've done both, take the key.
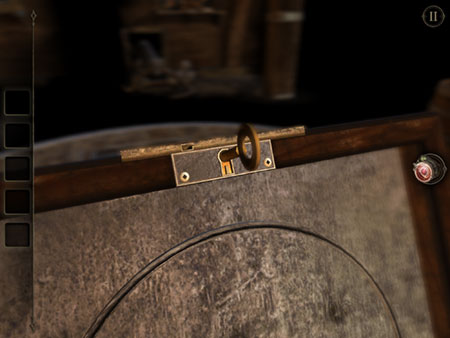
There's a keyhole at the top of the lid. Place the key inside and twist.

You'll see a series of blue discs. Wear the eyepiece to reveal a picture of a pirate ship. Spin the inner discs (the outer one is in the right place and won't budge) to make the picture complete.

Take the diamond-shaped object. When you zoom out, the box will disappear and a broken pyramid will appear in the centre of the table. Slot in your diamond object to make a complete pyramid. A box will appear.
Spin the box so the shapes on the top and bottom segments match up.

Finally, spin the camera around so that the red sticks join up with the red symbols to make the image you see in the screenshot above.

